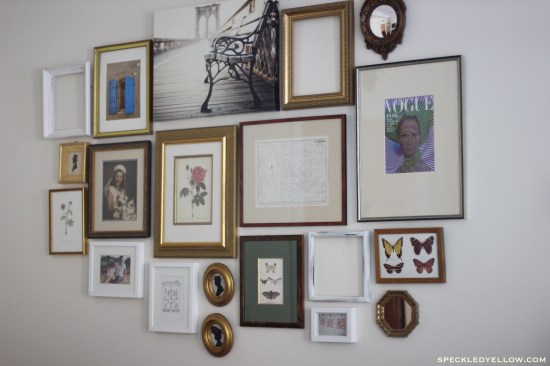
HELLO WALL ART!!!! One of my favorite things about interiors is a collection of art, photos, and graphics placed close together to create what seems like a large piece of intricate art. For me, each framed piece tells a story and holds a memory. My Grandmother on her wedding day, a map of where I grew up, my favorite finds from different flea markets, a page I ripped out of at vintage book about topiary plants, and a picture of my love and me.
This masterpiece is located in our living room, making the room feel put together and cozy while warming my heart with memories and stories. Now, how did this come all come together? Seriously, I am not gonna lie, it can be a headache. But, with some simple tips and tricks the headache melts away and creativity takes its place! It also takes careful consideration, patience, and some pretty good measurement skills from a handy person such as a hubby, Mom, or friend.
TIPS AND TRICKS FOR CREATING AN AMAZING WALL ART GALLERY:
1. Think about your frames. Do you want them all one color? Matching? A mix of a few different colors? Our gallery wall has a mix of brown, gold, and white frames.
2. Think about shapes and sizes. You can have all of your art be one size, or mix in different shapes and sizes or objects (mirrors, antlers) like we did.
3. ARRANGE THE ART GALLERY ON THE FLOOR FIRST!!!! lay your art in different designs on your floor first if you can before nailing it to the wall. The only time this doesn’t work is when you decide to continuously add different art/pictures to your wall. If you are constantly adding art/photos to your wall it may help to keep them all the same distance from each other (for example 1.5 inches away from all sides). Also, think about how far apart each piece is from each other. To make it easier, I suggest making each piece 1-2 inches away on all sides.
4. Start in the middle and work your way out. Most likely, this center or middle pic, will be the one that attracts the eye. Meaning when people look at your wall, this will be the first piece they look at so make it a good one (it doesn’t have to be the largest but it should be one of your favorites!)
5. Take photos of the different arrangements on the floor so you can look back at them later. Even leave the different arrangements on the floor for a few days to see if you still feel the same way about them. I left my favorite arrangement on the floor for a month before deciding to hang it!!!!!
6. You can even draw up a mock version of your artwork and different ways it can be arranged on the wall. Check out Apartment Therapy blog post for examples and more description of what I mean.
HOW TO HANG WALL ART GALLERY WITHOUT FREAKING OUT:
1. CUT OUT CRAFT PAPER IN THE SAME SIZE AND SHAPE OF EACH ART PIECE. Write a short description and number on the paper so you don’t forget what paper is for what art piece.
2. Measure your preferred distance between each art piece. Maybe come up with a common distance like 1-2 inches away from each art piece on all sides.
3. Measure the length and width of your floor arrangement. Then Measure the space you want your art gallery to encompass. Draw a small pencil mark on the wall for where you think the top of your art gallery will be placed, the bottom, and each side. Stand back and check it out.
4. Measure where the nail will be placed and draw a pencil mark circle on the cut out construction paper where the nail will be. That way when you hammer in a nail, you can place the nail on the penciled dot in the exact spot it should be!
5. For photo examples and a video to better understand check out this post on Lamps Plus.

Click below for more pictures of our Wall Art Gallery and photos that inspired the creation of ours
GALLERY WALL ART PHOTOS FOR INSPIRATION:
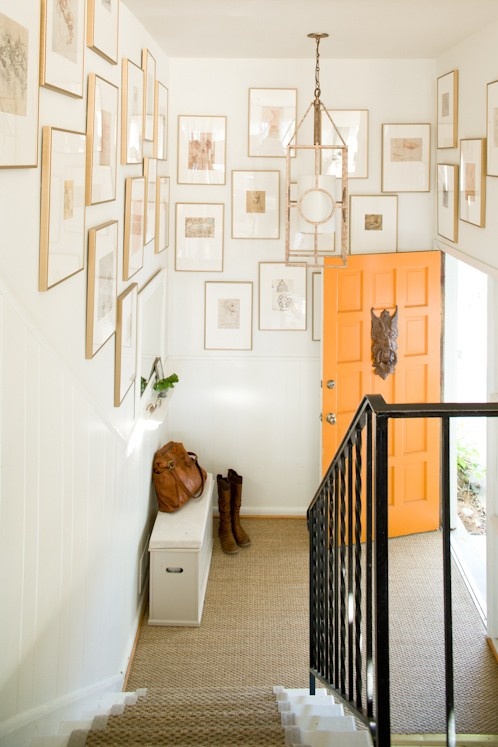
1. Obsessed with this idea for a hallway or corner! Matching the same frame and white matting with a scattered but logical placement is so crisp, hip, and fresh!
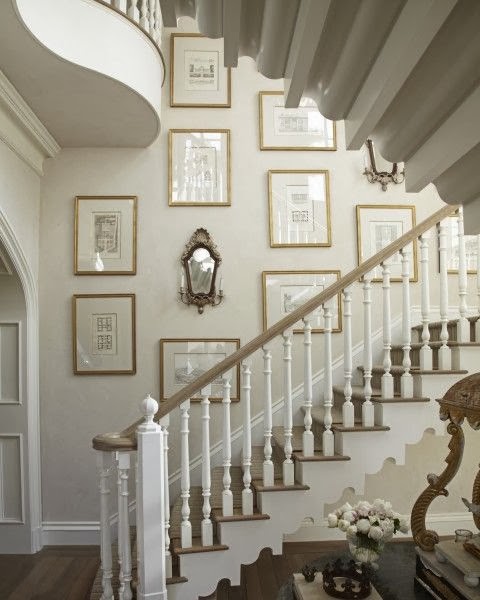
2. This one below adds in some mirros with scones. It again has a clean look like the picture above because of its simplicity.
http://houseandhome.com/design/diy-gallery-wall
3. This one is from Lauren Conrad’s Instagram!!!!! I love how she has a color scheme utilizing reds, black, and gold. Her frames are mostly different but all somehow relate and match to create a funky fun spin to the art gallery. This photo was my main inspiration for our art gallery wall.
 http://laurenconrad.com/blog/2012/05/picture-perfect-how-to-hang-a-wall-collage-gallery/
4. Don’t you just love gold frames! The matting of the art has such nice warm neutral colors which create a vintage feel.
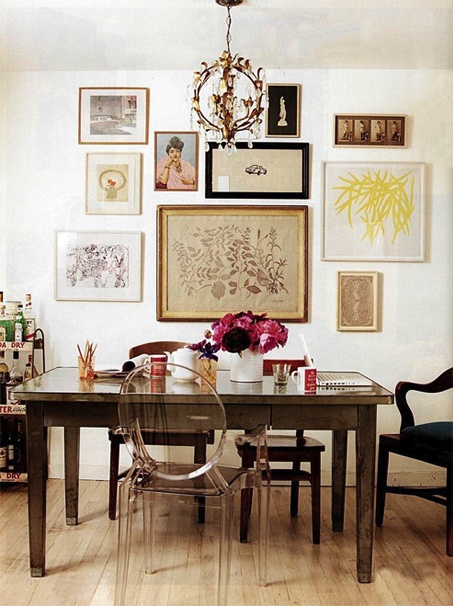
5. This is an example of using a variety of three different colors for frames.
6. Adding mirrors creates dimension to the room as well as opens up the room to make it appear larger than it is!
http://theamericanlegacy.tumblr.com/post/17650582397/wall-of-mirrors
7. So eclectic!
http://mymanymoments.blogspot.com/search?updated-max=2011-04-22T10:00:00-07:00&max-results=7




I love this. Can’t wait for more decorating tips. Sandy
LikeLike