DIY Wall Art Gallery and Inspiration

Wall Art Gallery

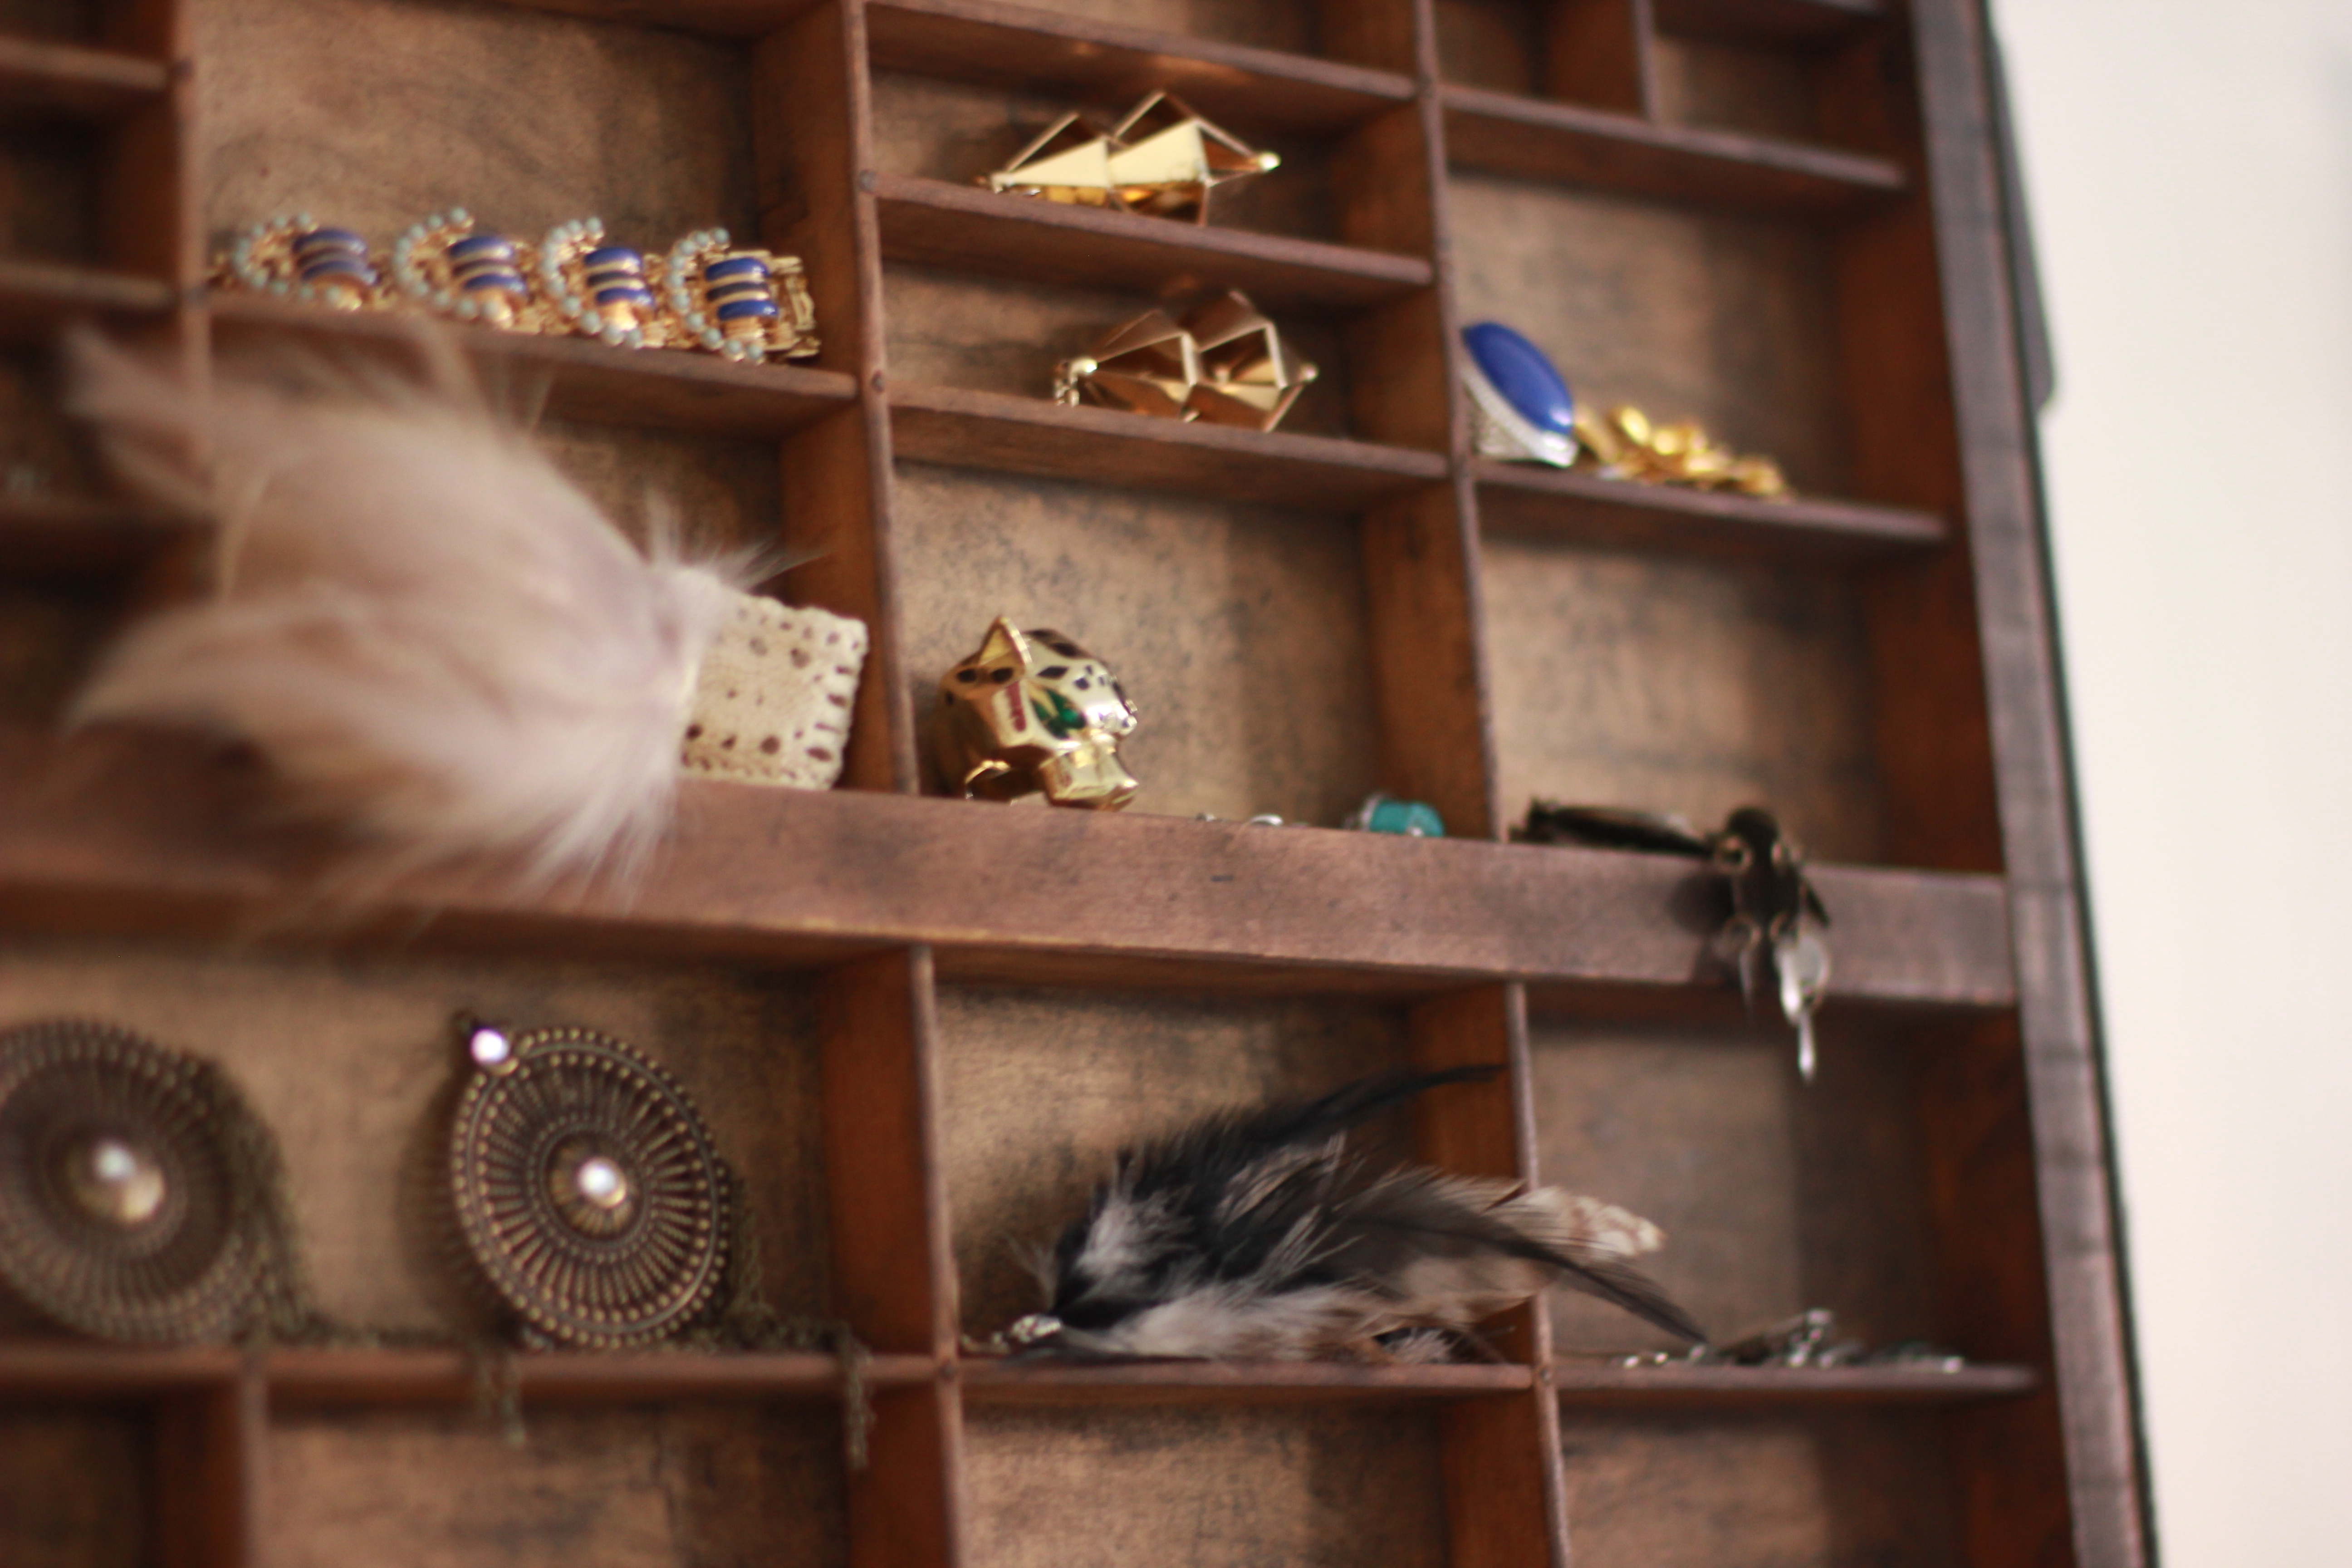
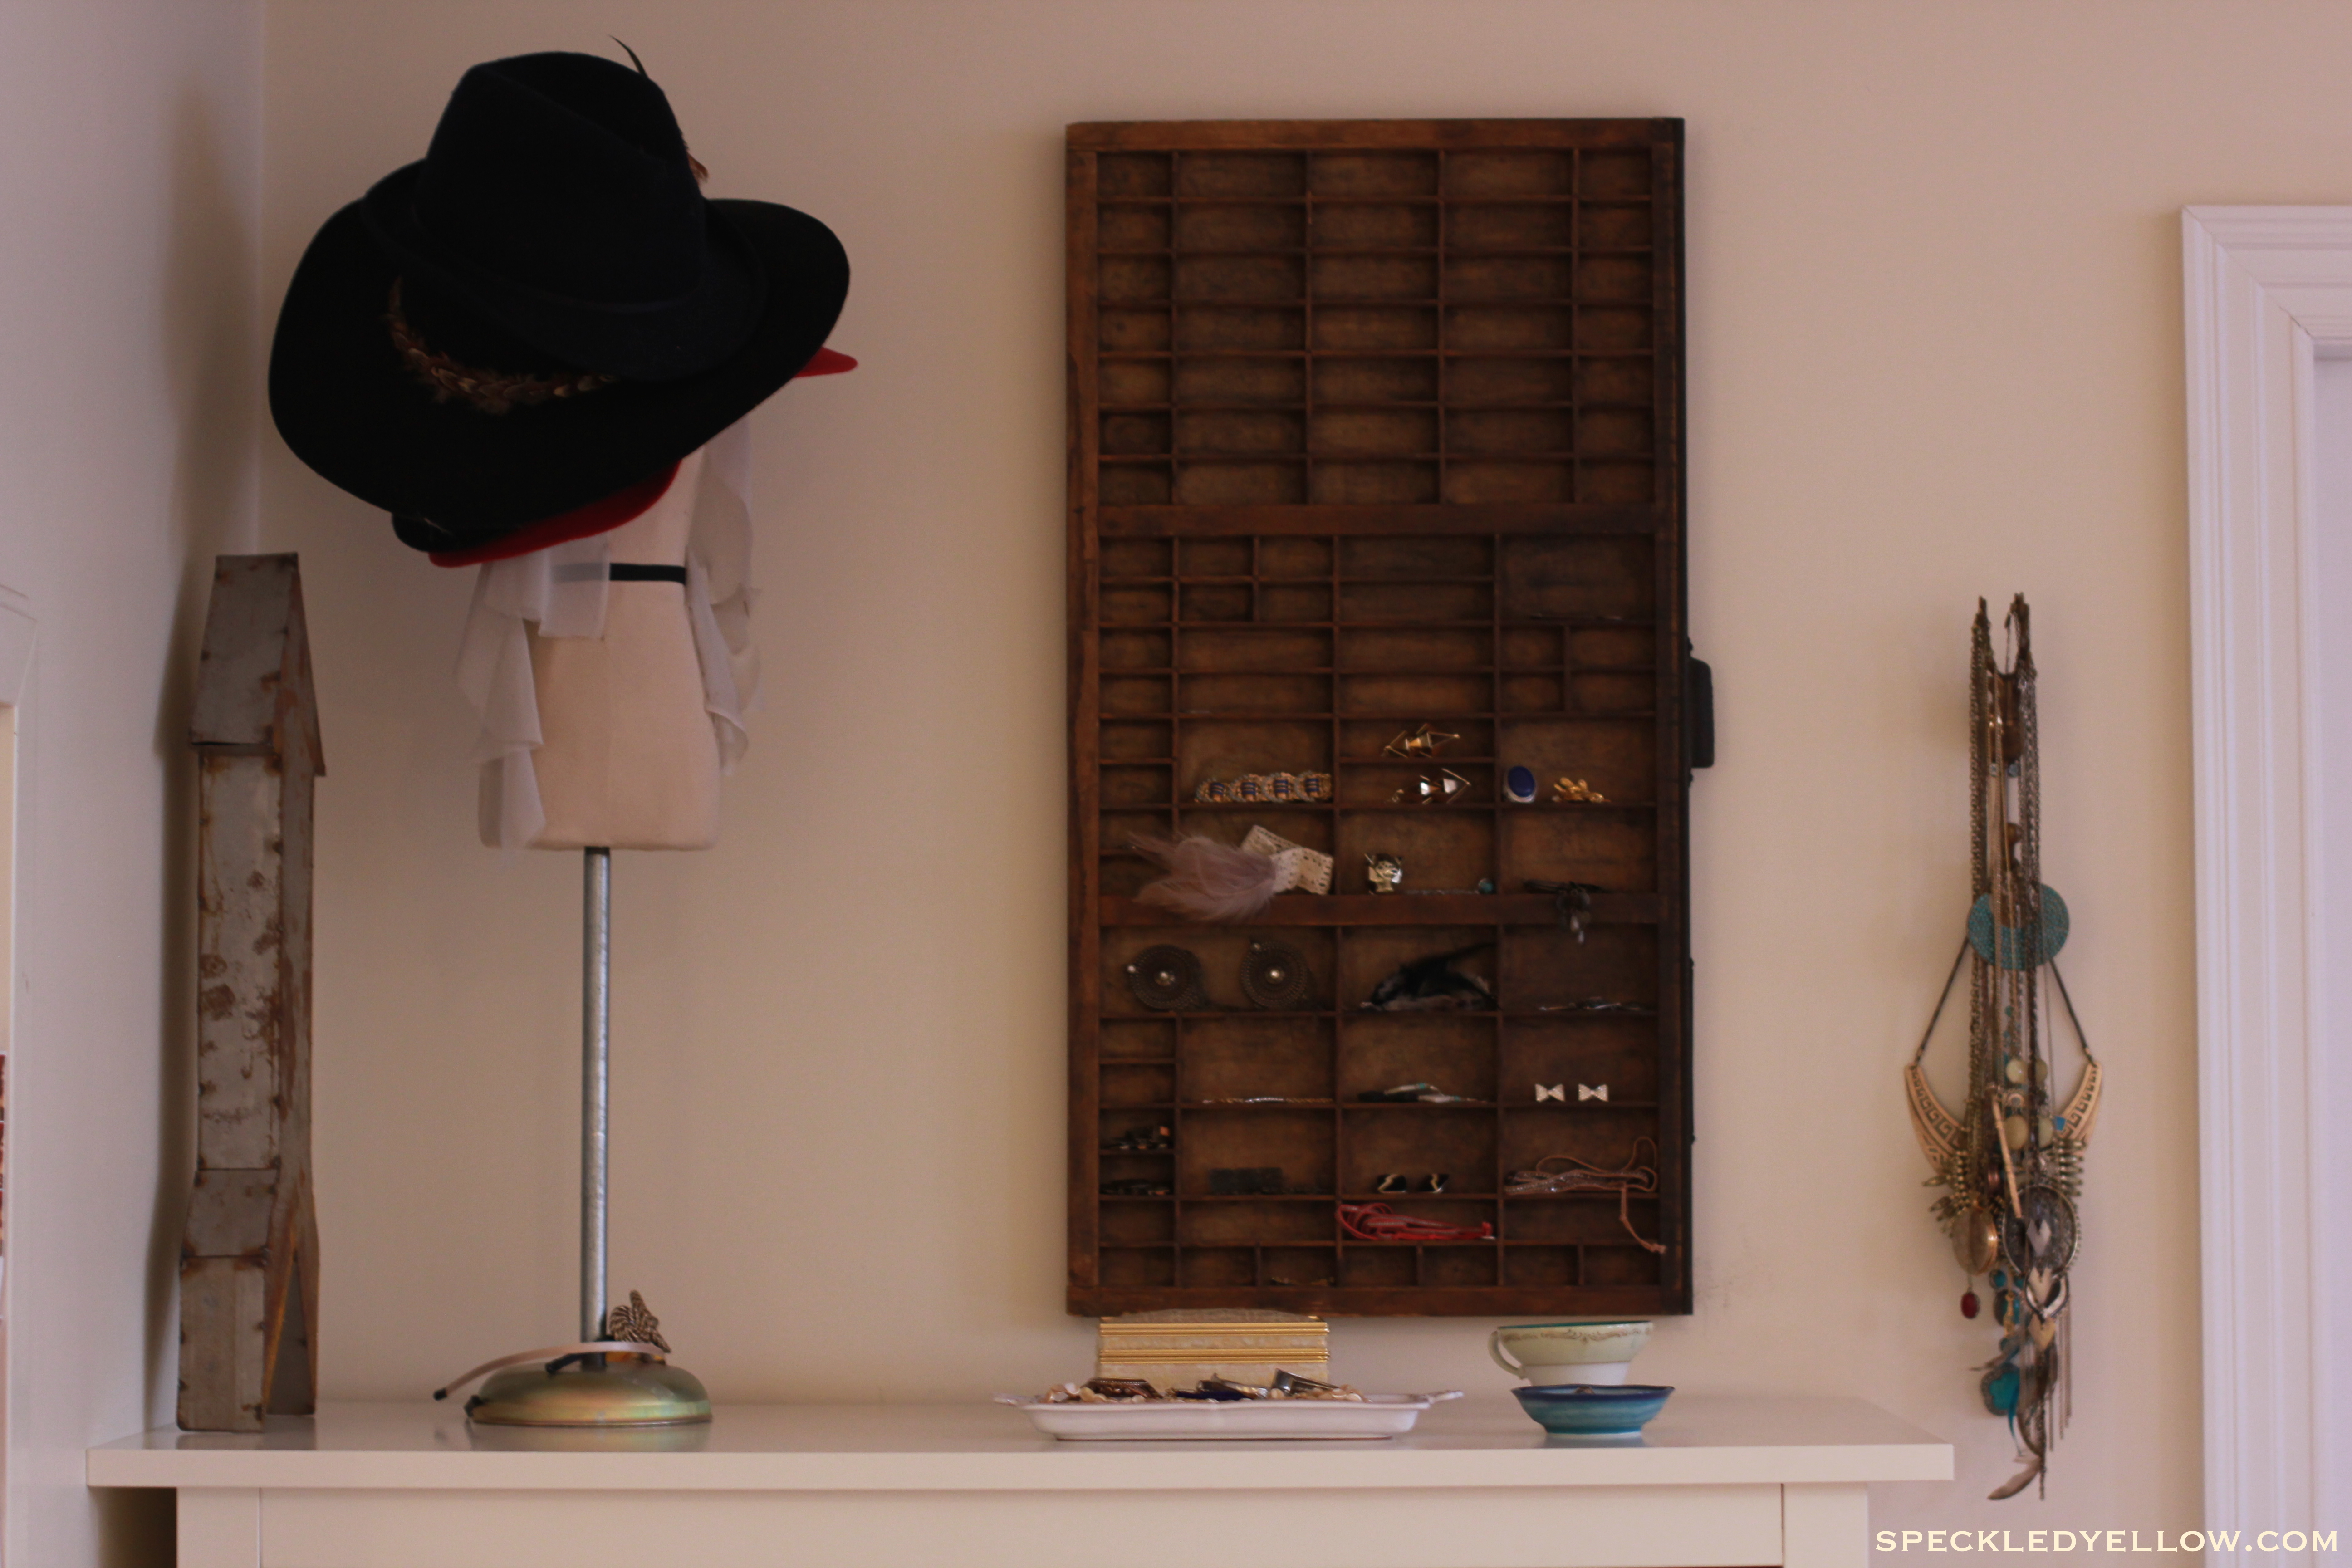
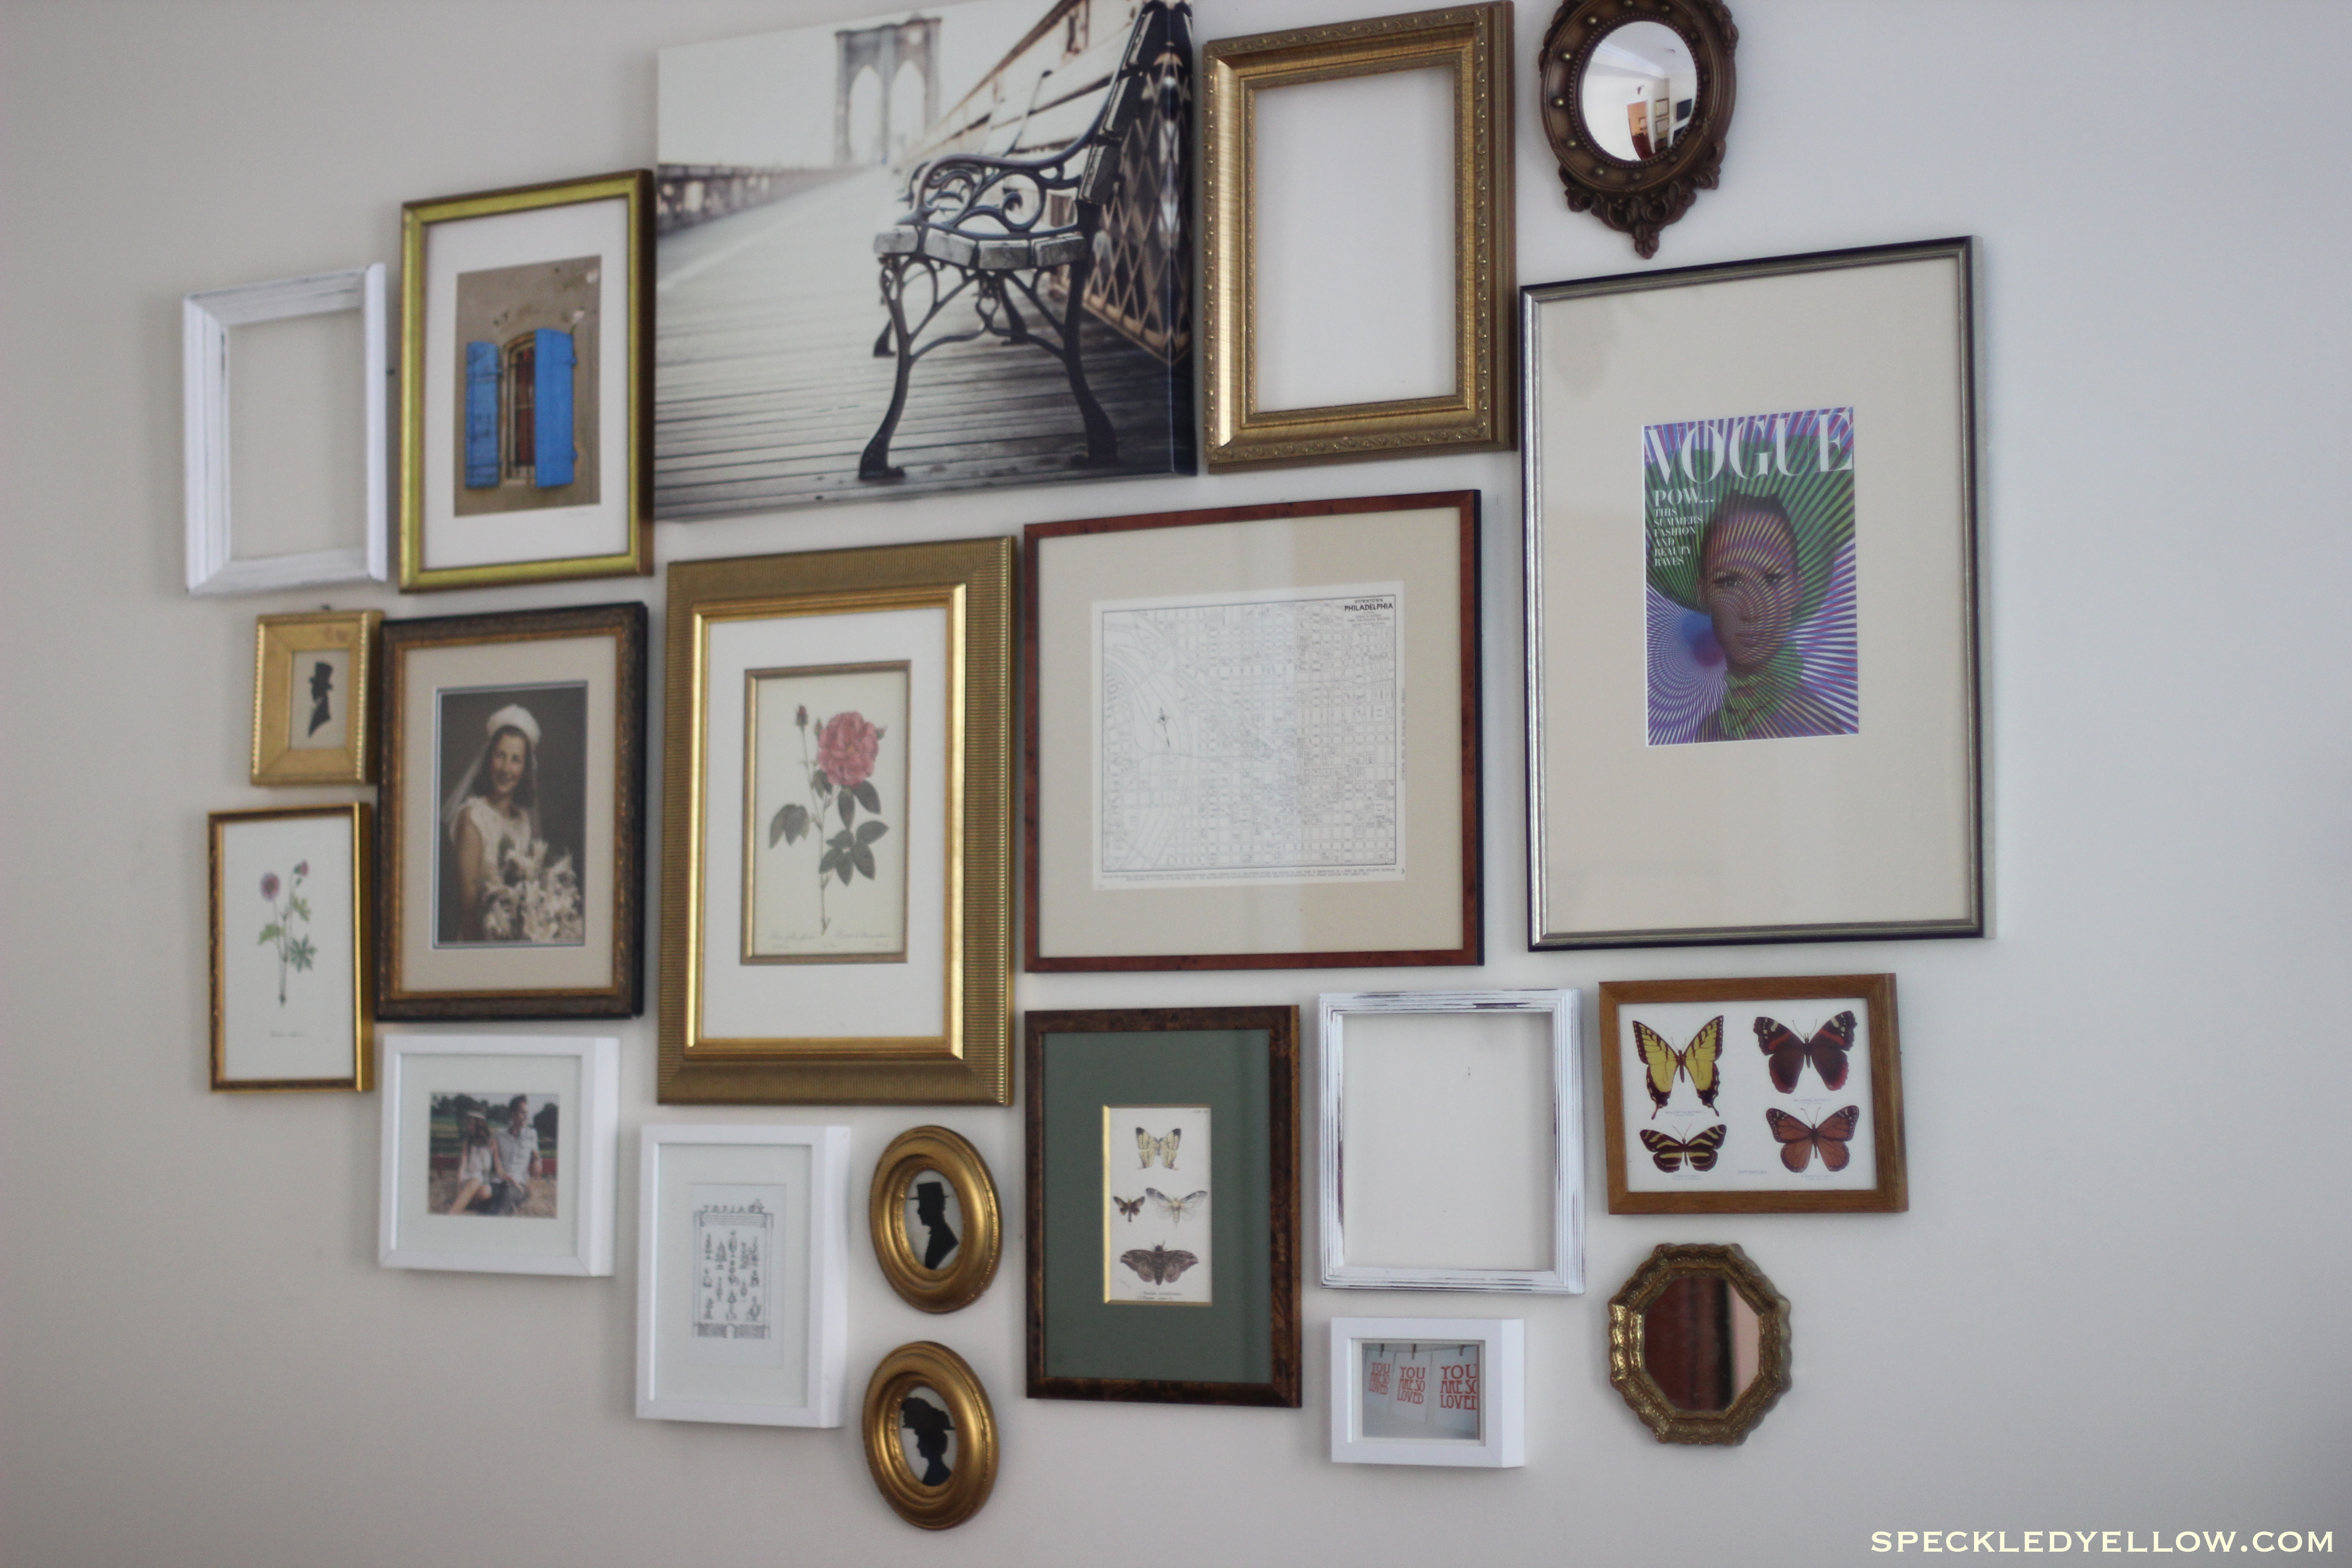
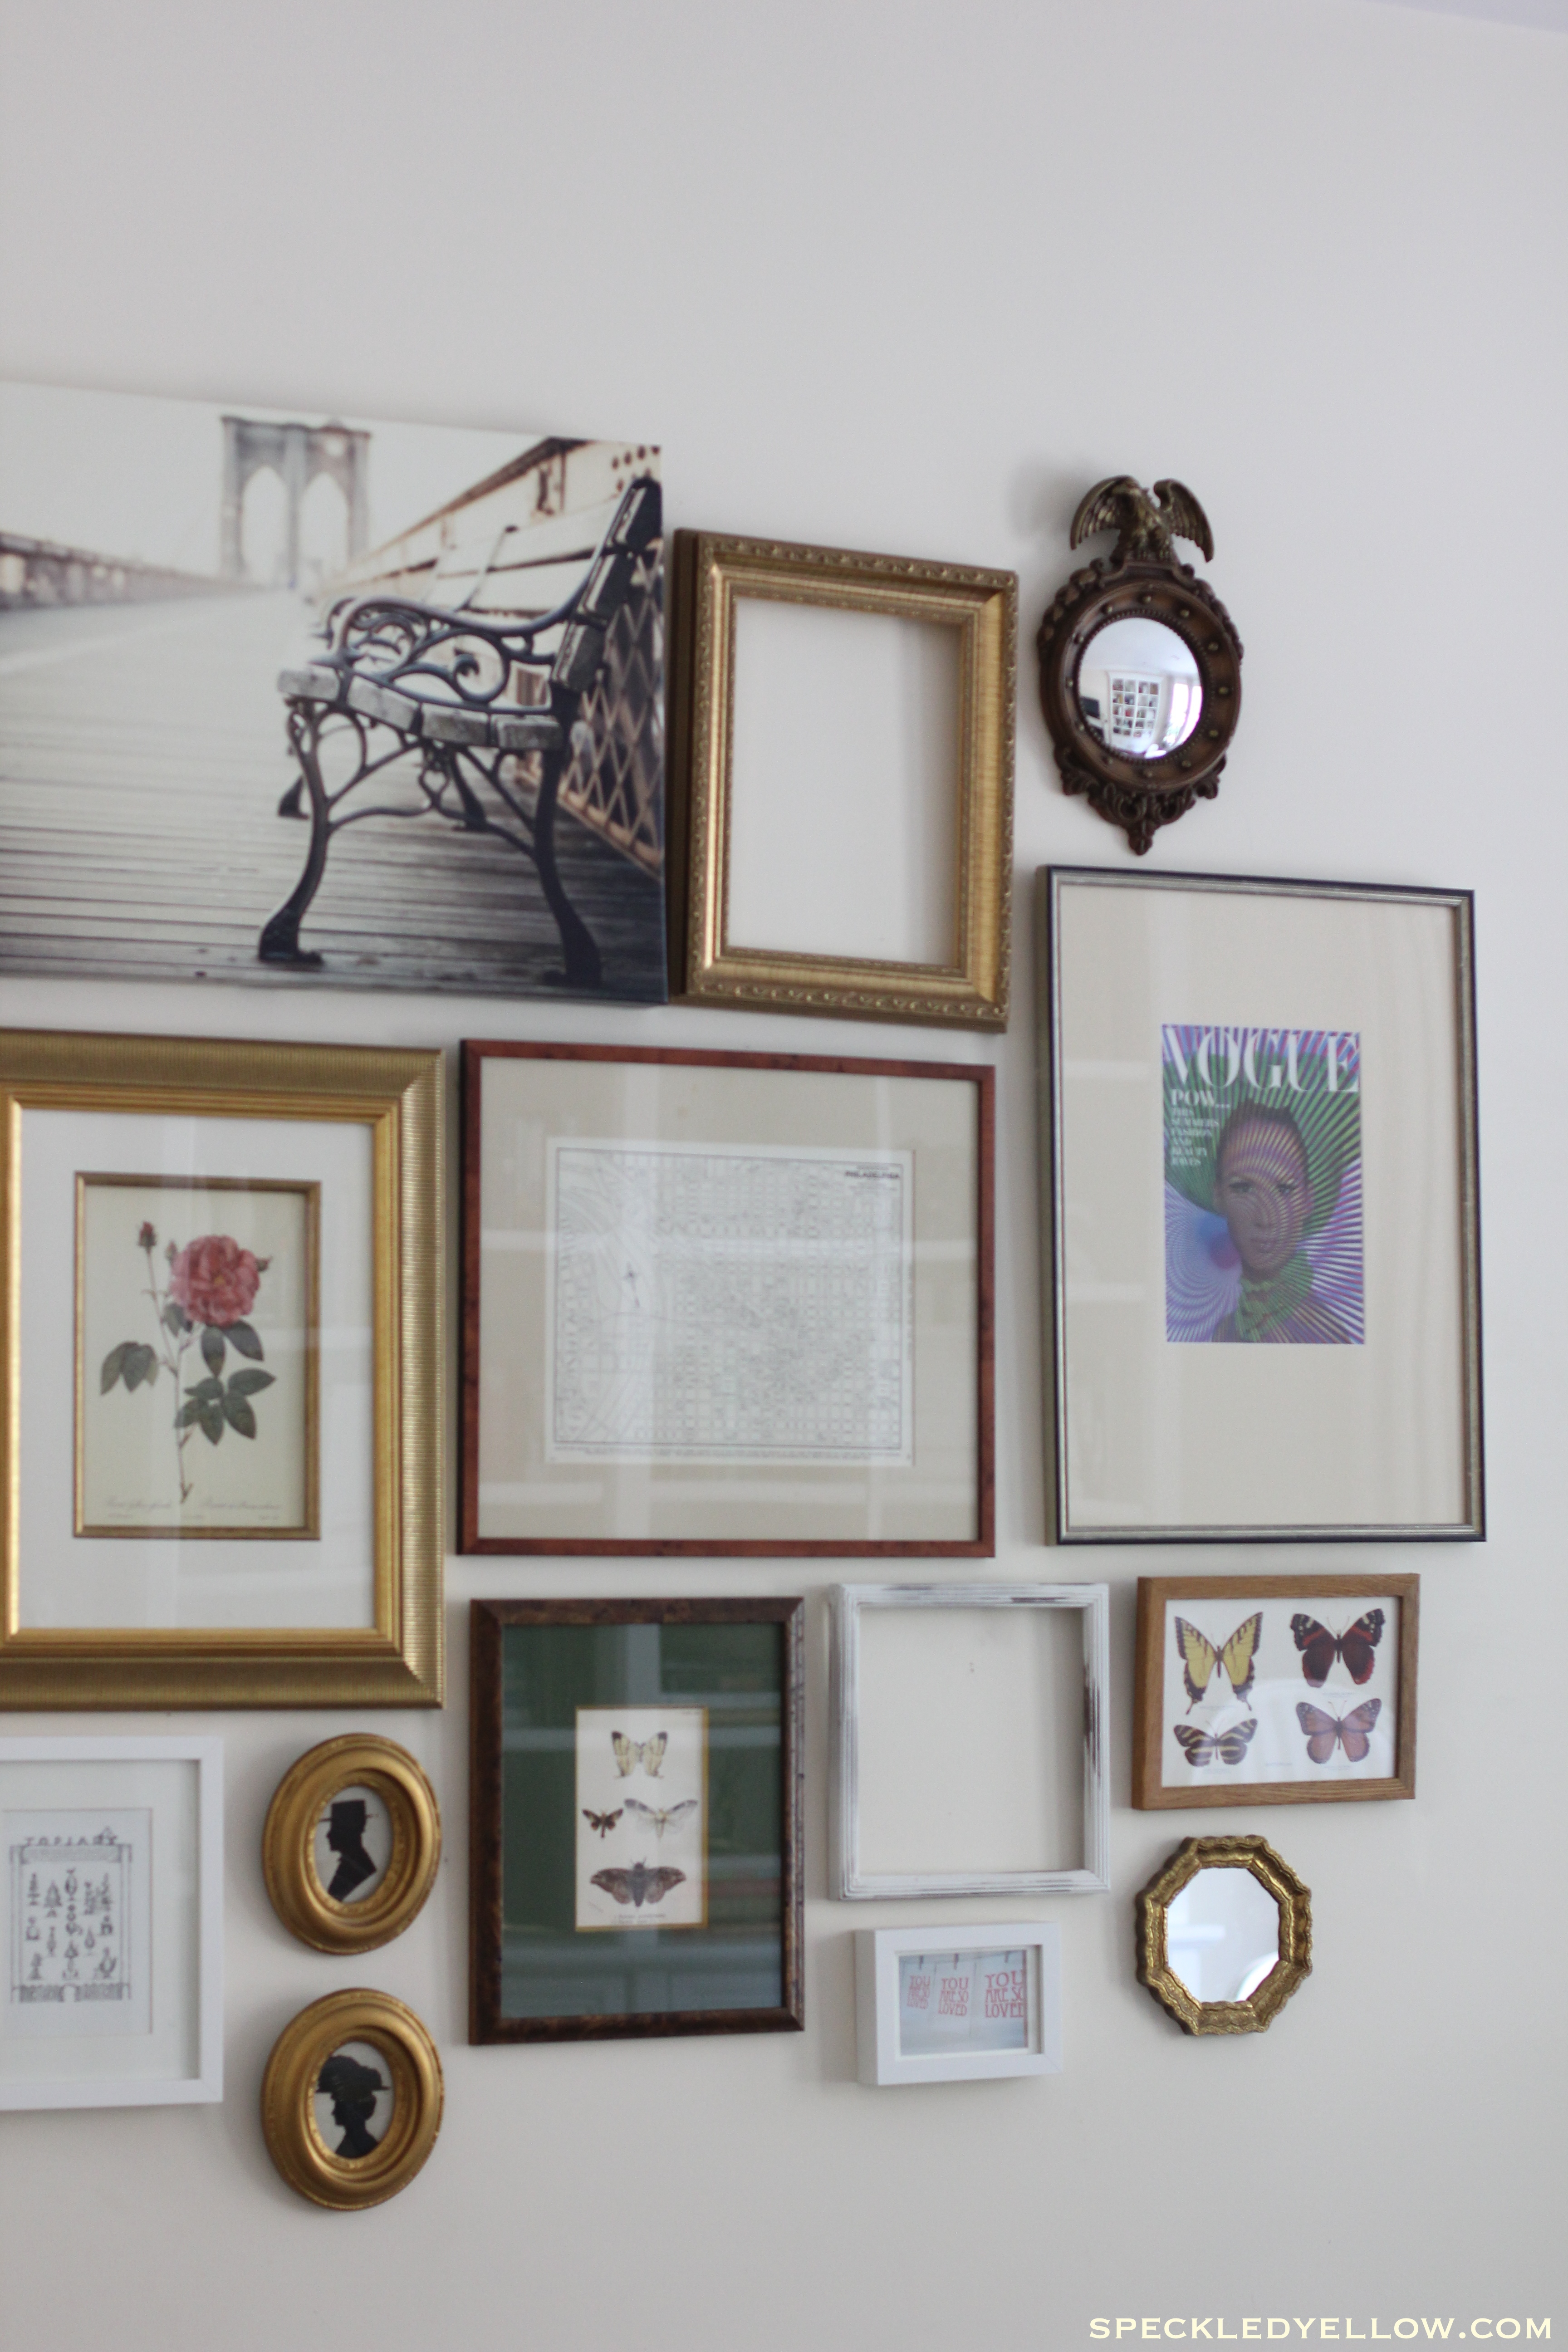
HELLO WALL ART!!!! One of my favorite things about interiors is a collection of art, photos, and graphics placed close together to create what seems like a large piece of intricate art. For me, each framed piece tells a story and holds a memory. My Grandmother on her wedding day, a map of where I grew up, my favorite finds from different flea markets, a page I ripped out of at vintage book about topiary plants, and a picture of my love and me.

This masterpiece is located in our living room, making the room feel put together and cozy while warming my heart with memories and stories. Now, how did this come all come together? Seriously, I am not gonna lie, it can be a headache.  But, with some simple tips and tricks the headache melts away and creativity takes its place!  It also takes careful consideration, patience, and some pretty good measurement skills from a handy person such as a hubby, Mom, or friend.

Wall Art Gallery speckledyellow.com

TIPS AND TRICKS FOR CREATING AN AMAZING WALL ART GALLERY:

1. Think about your frames. Do you want them all one color? Matching? A mix of a few different colors? Our gallery wall has a mix of brown, gold, and white frames.

2. Think about shapes and sizes. You can have all of your art be one size, or mix in different shapes and sizes or objects (mirrors, antlers) like we did.

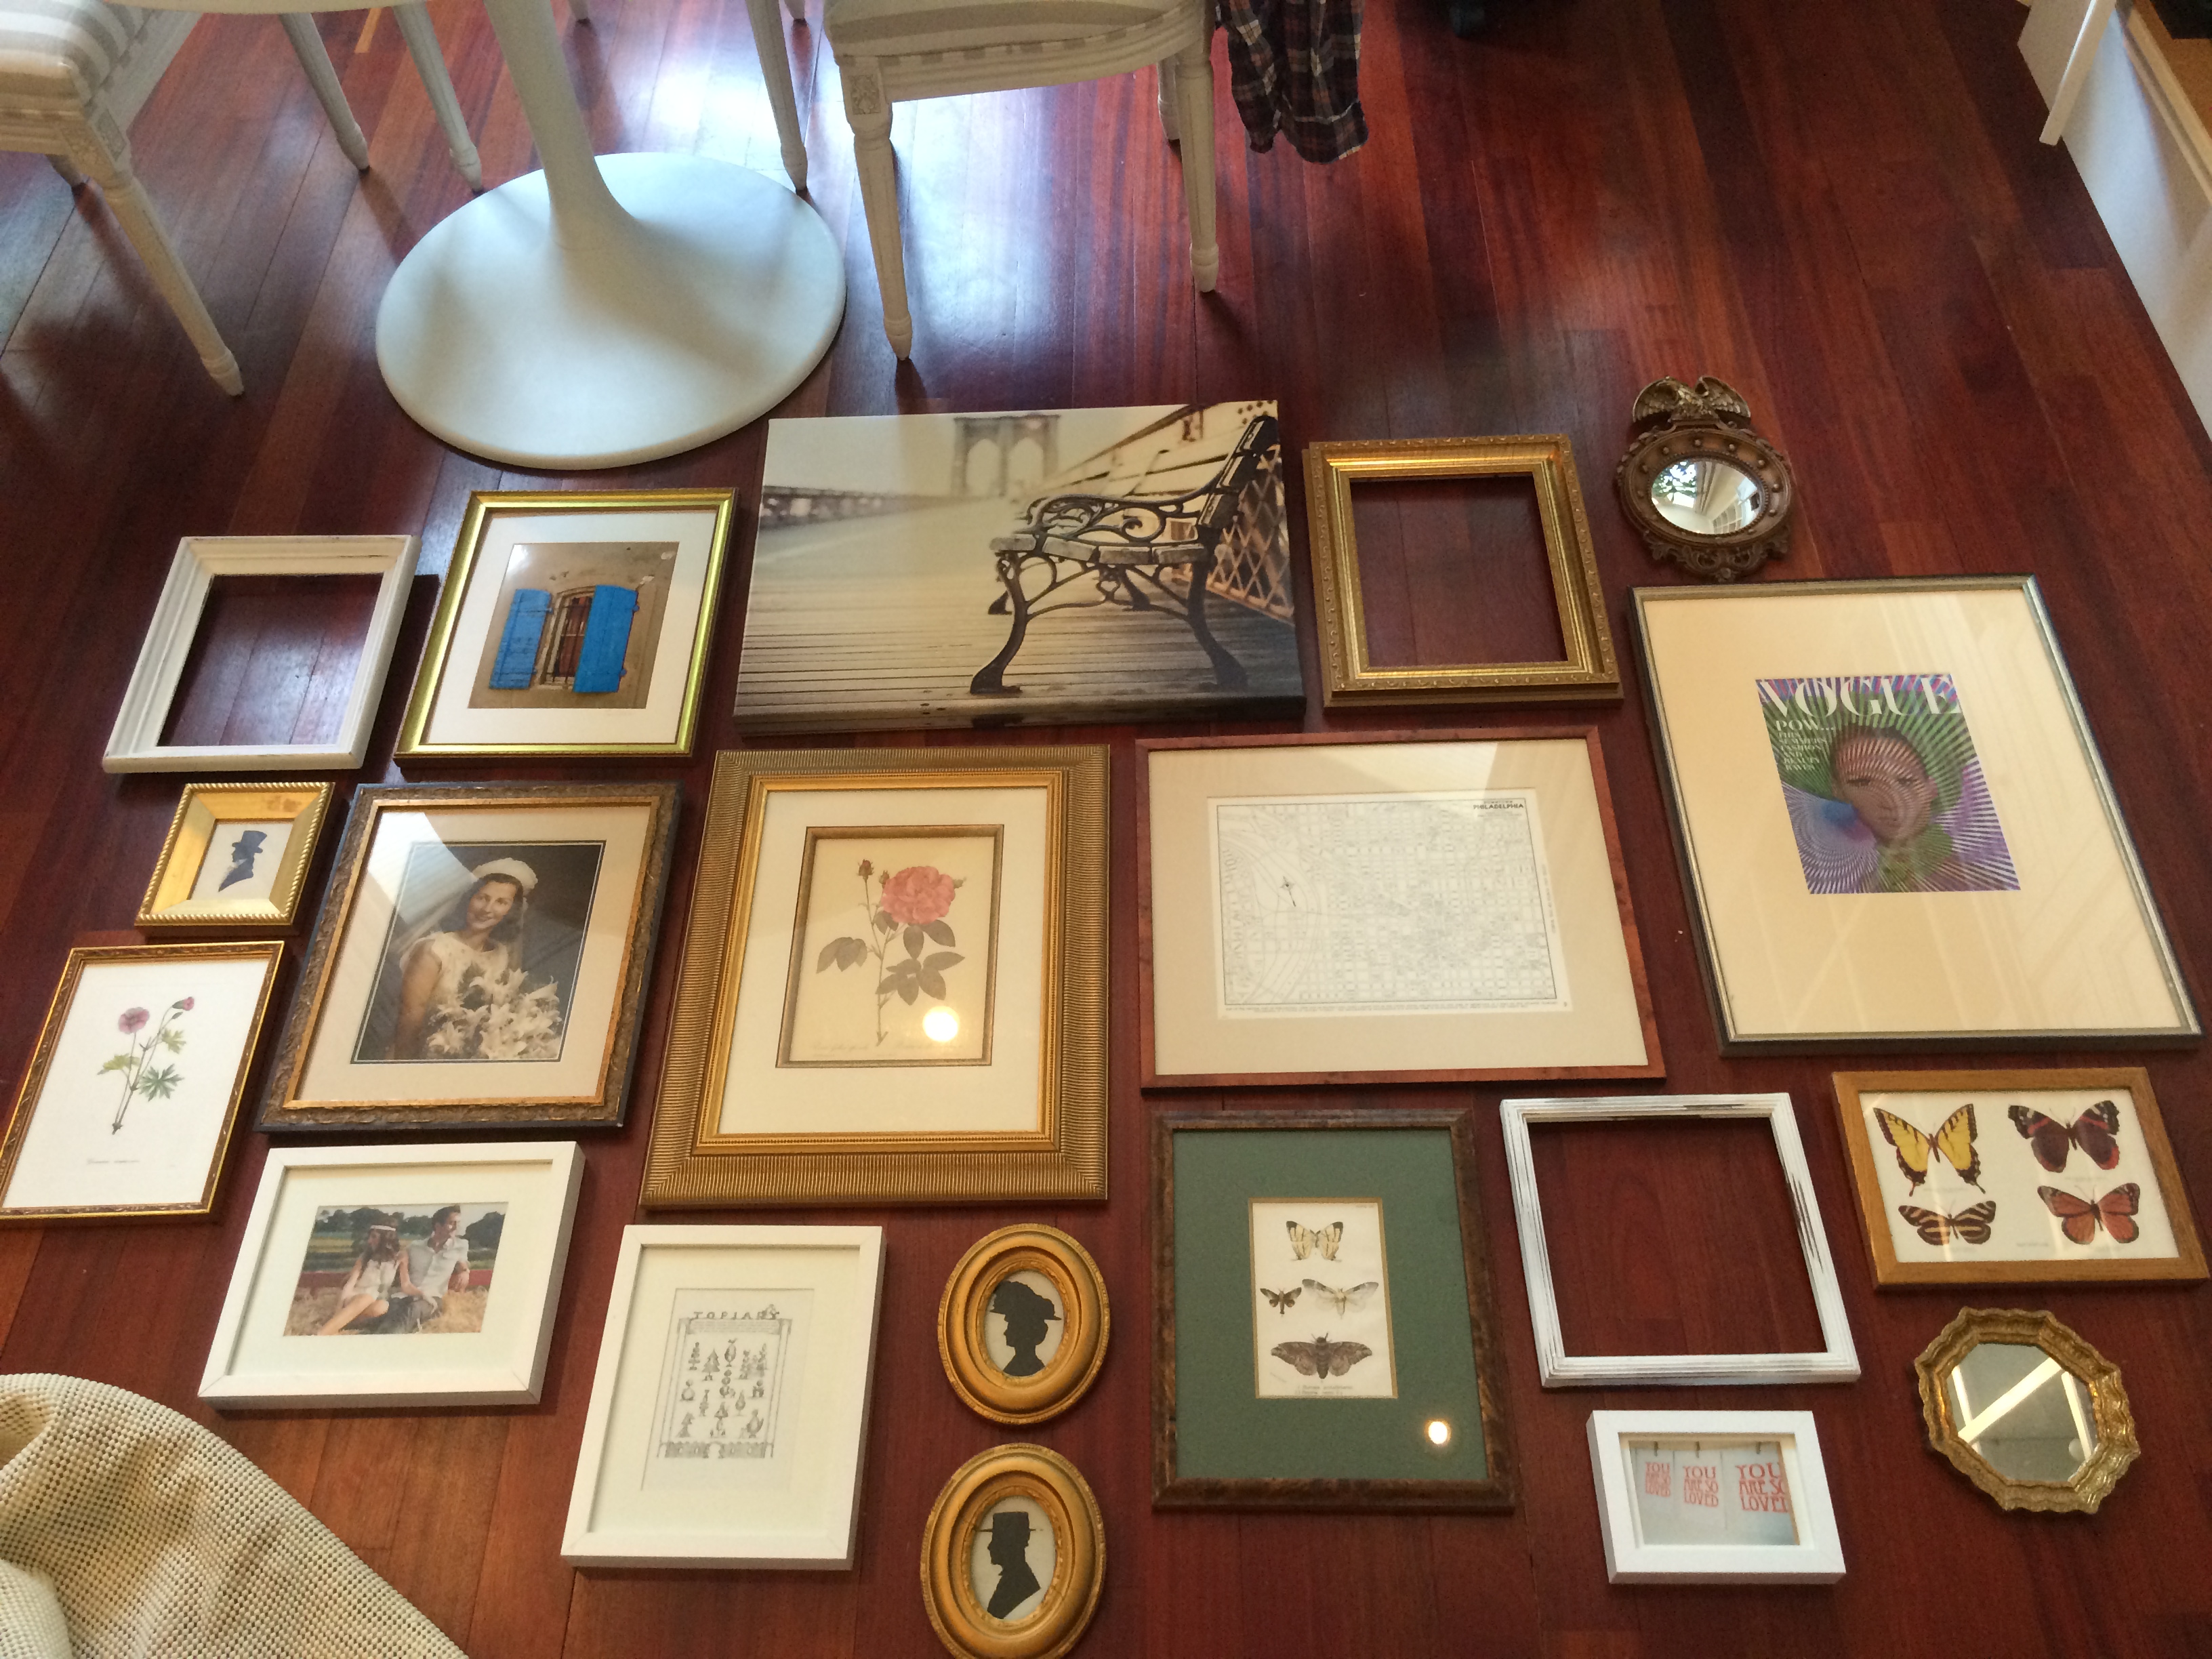
3. ARRANGE THE ART GALLERY ON THE FLOOR FIRST!!!! lay your art in different designs on your floor first if you can before nailing it to the wall. The only time this doesn’t work is when you decide to continuously add different art/pictures to your wall. If you are constantly adding art/photos to your wall it may help to keep them all the same distance from each other (for example 1.5 inches away from all sides). Also, think about how far apart each piece is from each other. To make it easier, I suggest making each piece 1-2 inches away on all sides.

4. Start in the middle and work your way out. Most likely, this center or middle pic, will be the one that attracts the eye. Meaning when people look at your wall, this will be the first piece they look at so make it a good one (it doesn’t have to be the largest but it should be one of your favorites!)

5. Take photos of the different arrangements on the floor so you can look back at them later.  Even leave the different arrangements on the floor for a few days to see if you still feel the same way about them. I left my favorite arrangement on the floor for a month before deciding to hang it!!!!!

6.  You can even draw up a mock version of your artwork and different ways it can be arranged on the wall. Check out Apartment Therapy blog post for examples and more description of what I mean.

IMG_5233IMG_5254

 HOW TO HANG WALL ART GALLERY WITHOUT FREAKING OUT:

1. CUT OUT CRAFT PAPER IN THE SAME SIZE AND SHAPE OF EACH ART PIECE. Write a short description and number on the paper so you don’t forget what paper is for what art piece.

2. Measure your preferred distance between each art piece. Maybe come up with a common distance like 1-2 inches away from each art piece on all sides.

3. Measure the length and width of your floor arrangement. Then Measure the space you want your art gallery to encompass. Draw a small pencil mark on the wall for where you think the top of your art gallery will be placed, the bottom, and each side. Stand back and check it out.

4. Measure where the nail will be placed and draw a pencil mark circle on the cut out construction paper where the nail will be. That way when you hammer in a nail, you can place the nail on the penciled dot in the exact spot it should be!

5. For photo examples and a video to better understand check out this post on Lamps Plus.
Wall Art Gallery speckledyellow.com

Click below for more pictures of our Wall Art Gallery and photos that inspired the creation of ours Continue reading

Display Your Jewelry in Style

Display Your Jewelry in Style

Displaying your jewelry can be fun and easy without breaking the bank! Using thrift store/flea market finds, dishes that you love, or even checking out stores like Marshalls and Home Goods are all great places to start! Check out how I display my jewelry and some places where you can find similar items!

Display Your Jewelry in Style

More pictures, ideas, and information below!

Continue reading

How to Style a Bookshelf

How to Style a Bookshelf

One of my favorite things to do in the world is to decorate, and what better place to decorate than your very own book shelf!!!!! I love coffee table books, old books, vintage books about poetry, just pretty much all books, and to be able to mix them up with some of my favorite things was just heaven! Now, I was just left with all of these books and decor pieces and nowhere to put them. Fortunately when we moved, we had this giant space indented in our living room that would be perfect for a built-in bookshelf!!!!!  So, of course I  was over the moon with excitement when we found an amazing company, Boston Built In Cabinetry, to help with my vision and build the bookshelf of my dreams!!!

As I was arranging what would go in each shelf, I came up with a list of methods I used to make the book shelf look styled, clean, organized, and fun!

My list of how to style a bookshelf……..

1. Arrange Your Books by Color: Group books in terms of the color story they make. You can even find your favorite hard back classic books at book thrift shops! They always come in fabulous shades of colors and have a unique beautiful  style to them.

2. Mix up Your Book Placement: Not all books have to go in the same direction. Mix it up! Some can be vertical while others horizontal. I also love when the larger books are at the base and each book on top becomes smaller to create an upside-down cone shape!

3. Use Fun Decorative Objects: Such as unique shape vases (like my bright yellow one on the top right corner that I got at Ikea years ago), animal objects (I love elephants and received this Jonathan Adler Elephant Bank as a wedding gift), and artwork or framed pictures. I also checked out some vintage thrift shops and flea markets for cool figures, book ends, or anything that looked interesting such as my binoculars. Don’t forget to look in your Grandmother’s basement or attic! I was lucky enough to get my vintage brass deer from her that looks freakin amazing on top of some books. Marshals,Target, and West Elm always have some awesome things as well.

4. Including the Odd: Think plants, artwork, and antlers. I love using airplants and cactuses. See below for pictures of some ideas…..How to Style a BookshelfHow To Style a Bookshelf

Want more pictures of my bookshelf?? Click below!
Continue reading

Mason Jar Snow Globes with Gold Dinosaurs

IMG_2001

My husband was working crazy hours over the holidays so I had to find fun ways to fill my time on a cold wintery day. I am Jewish by blood, and my husband is Christian, so he is slowly but surely getting me into the holiday spirit and what better way to start with holiday decor than to make snow globes!!! I of course tend to like untraditional decor, especially since I did not grow up with typical Christmas decorations.  I have a love for all things gold, so I went with my first thought,  mason jar snow globes with gold spray painted dinosaurs!

Let’s Get Started:

1. Spray paint the dinosaurs gold and let dry for a few hours to a day.
2. Set out the tops of the mason jars so they are ready for action.
3. Grab some molding clay and mold two half circles (one for the dinosaur and one for the trees).
4. Prop up the dinosaur and trees on the clay and position them (make sure that they fit nicely once the jar is placed on top).
5. When everything is in place, glue the clay to the jar top, the trees in the clay and the dinosaur to the clay.
6. Fill the mason jar with water and add a few drops of Glycerin.
7. Finally add the fun with some fake snow, sparkles and/or iridescent snow flake sprinkles!

IMG_2089

Mason Jar Snow Globes with Gold Dinosaurs

Continue reading for the list of supplies and more photos!

Continue reading

%d bloggers like this: